
The IDE is the only first editor, that provides support for many languages like PHP, C/C++, XML, HTML, Groovy, Grails, Ajax, Javadoc, JavaFX, and JSP, Ruby and Ruby on Rails. The editor is extensible, so you can add support for many other languages.

Install NetBeans IDE in Ubuntu
Read also : Install NetBeans IDE 7.2 in RedHat / CentOS / Fedora
NetBeans IDE 7.2 Installation on Ubuntu and Linux Mint
NetBeans IDE 7.2 works better and faster with JDK distribution, so we use sun oracle’s Co bundled package called JDK 7u10 with NetBeans 7.2.1. Go and download the best suitable version for your Linux operating system. Make sure you must be root user to perform all the steps.- Download the jdk-7u10-nb-7_2_1-linux-i586-ml.sh for the 32-bit Linux OS.
- Download the jdk-7u10-nb-7_2_1-linux-x64-ml.sh for the 64-bit Linux OS.
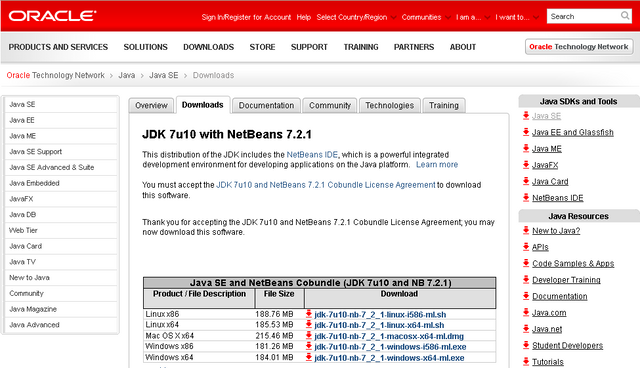
Download NetBeans IDE
## For 32-bit OS ##
# chmod +x jdk-7u10-nb-7_2_1-linux-i586-ml.sh

## For 64-bit OS ##
# chmod +x jdk-7u10-nb-7_2_1-linux-x64-ml.sh
Now run the installer from the directory where you placed the installer file. Type the following command to run the installer setup wizard.
## For 32-bit OS ##
# ./jdk-7u10-nb-7_2_1-linux-i586-ml.sh

## For 64-bit OS ##
# ./jdk-7u10-nb-7_2_1-linux-x64-ml.sh
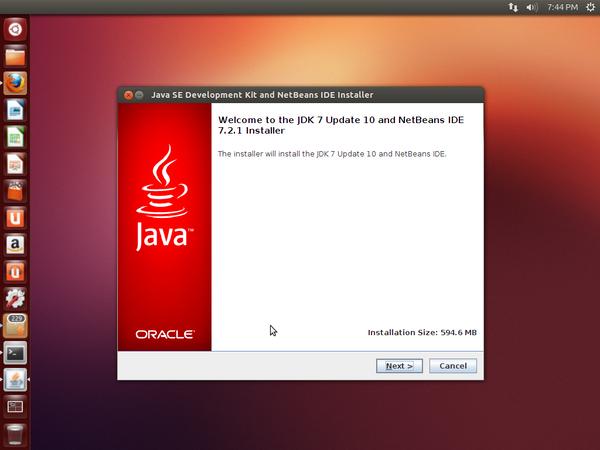
NetBeans Installer for Ubuntu
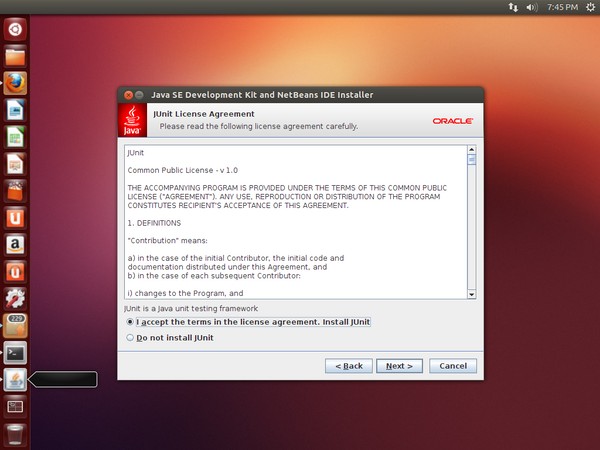
Accept NetBeans jUnit License Agreement

Select NetBeans JDK Installation Directory
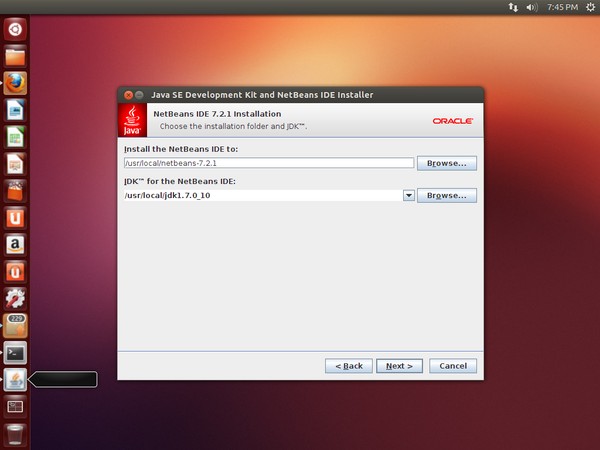
Select NetBeans IDE Installation Directory
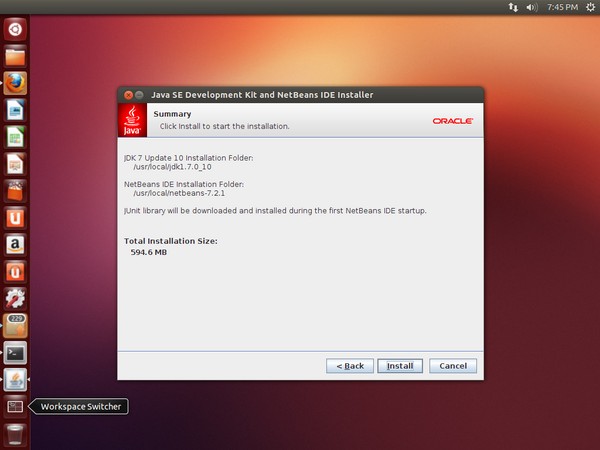
NetBeans Installation
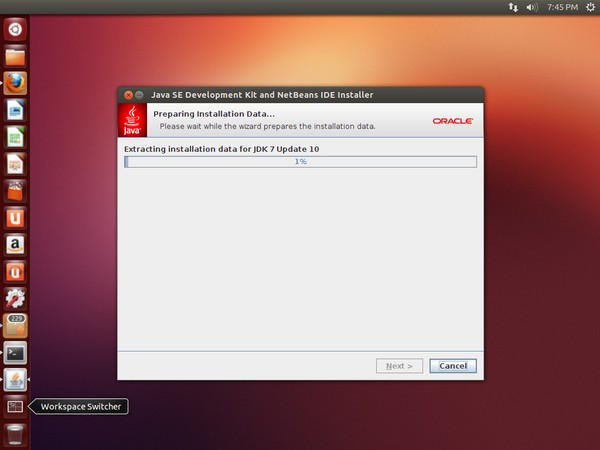
Preparing installation data for JDK 7
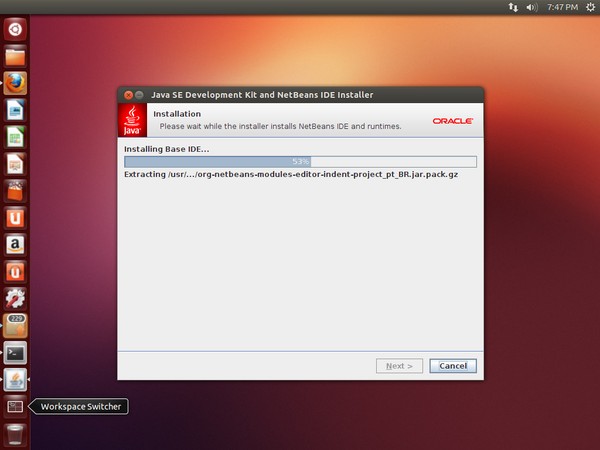
NetBeans Base IDE Installation

NetBeans Installation Completed
# /usr/local/netbeans-7.2.1/bin/netbeans
NetBeans 7.2 IDE running on Ubuntu 12.10
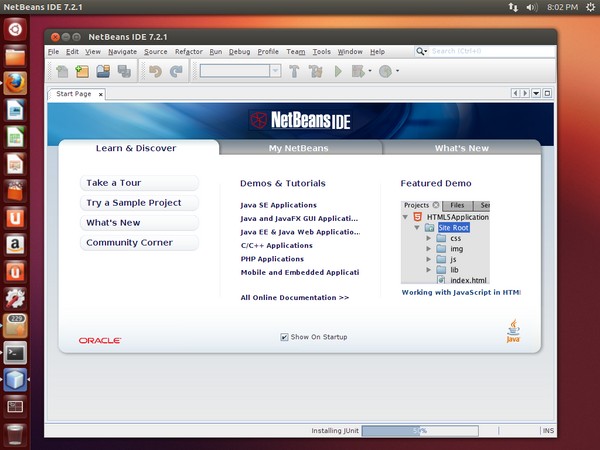
NetBeans IDE Preview
NetBeans IDE 7.2 Uninstalling in Ubuntu and Linux Mint
To uninstall the NetBeans IDE from the system, type the following commands and procedures.# cd /usr/local/netbeans-7.2.1 # uninstall.sh
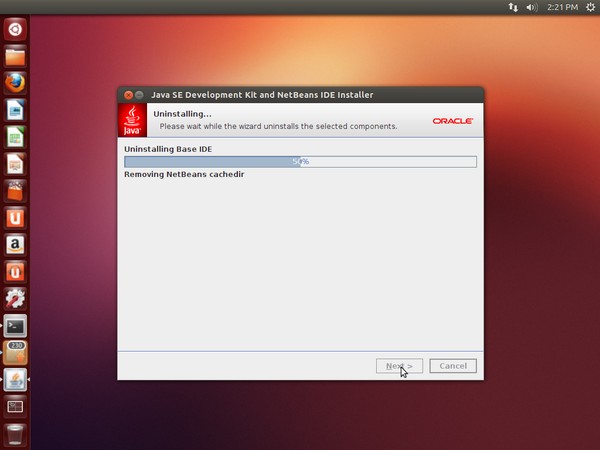
Uninstall NetBeans IDE
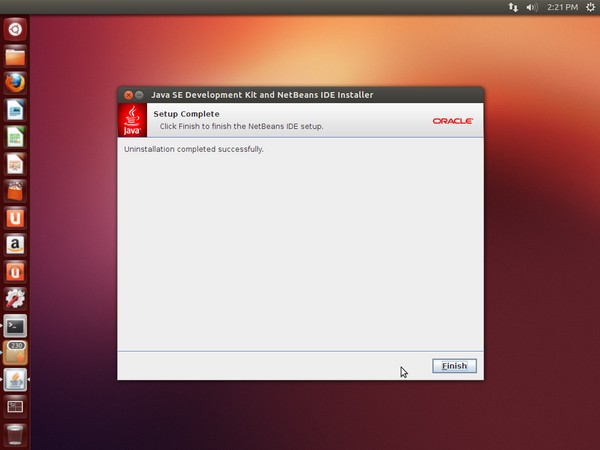
Uninstall NetBeans IDE Finish
0 comments:
Post a Comment